React Re-Renders
Published on
5 min read • --- views
Hi, react Andy!
I’ve used React for over six years. I’ve noticed that even skilled programmers often struggle to grasp how React operates behind the scenes. This can lead to inefficiencies. It affects code quality, speed, and user experience.
The documentation is great for starting with React. Many books, courses, and blogs focus on beginners. But what comes next? How can you dive deeper and really understand how it works? If you’ve been writing React for a while, basic or even intermediate courses may not be enough. Sadly, resources for advanced learning are limited.
That’s why I’m launching a series of articles to fill this knowledge gap.
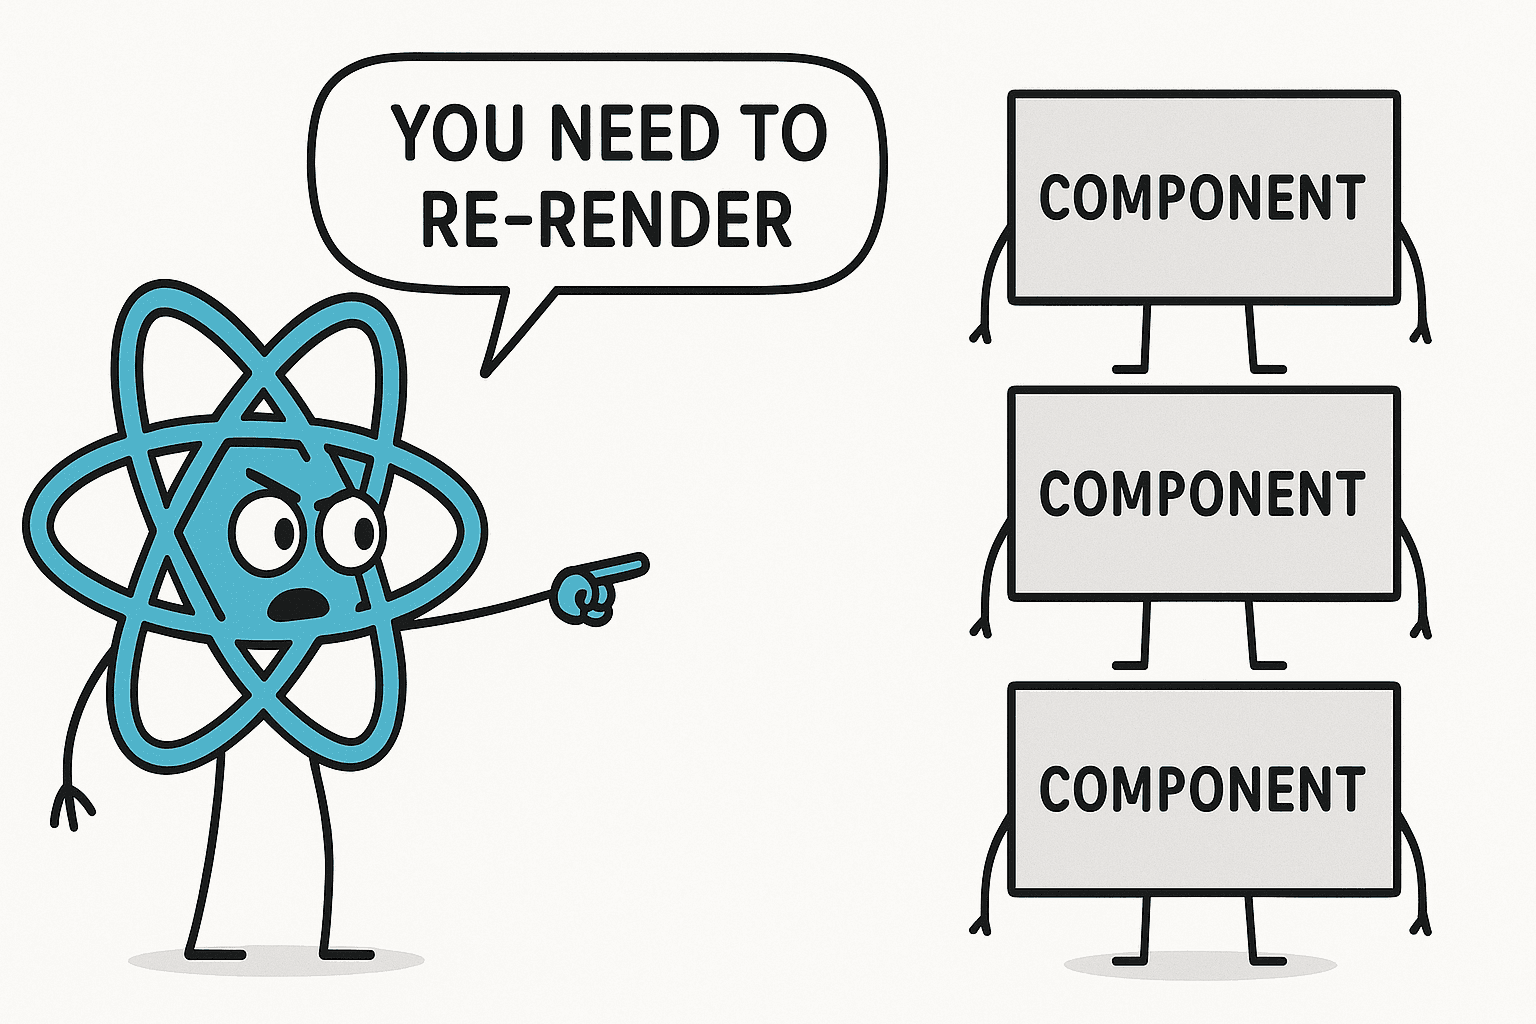
Intro to re-renders
Understanding re-renders in React is crucial for performance. You need to understand what triggers them. Know how they move through the app. Learn what happens during a re-render and why it matters.
The problem
Imagine you're an intern at a FAANG company. Your first task is to create a new React component. You're asked to add a
simple button that opens a settings panel at the top of the dashboard.
const Dashboard = () => {
  // Some code here
  return (
    <div className="container">
      {/* The trigger should go somewhere here */}
      <ExpensiveDataGrid />
      <AnalyticsWidget />
      <ActivityFeed />
    </div>
  );
};
Then you implement it. The task seems straightforward. We've all done it countless times:
const Dashboard = () => {
  // Add state
  const [isExpanded, setIsExpanded] = useState(false);

  // Everything that is returned here will be re-rendered when the state is updated
  return (
    <div>
      {/* Add the trigger */}
      <IconButton onClick={() => setIsExpanded(true)}>Show settings</IconButton>

      {/* Add the panel */}
      {isExpanded && <SettingsPanel onDismiss={() => setIsExpanded(false)} />}

      <ExpensiveDataGrid />
      <AnalyticsWidget />
      <ActivityFeed />
    </div>
  );
};
You add state to track if the panel is expanded or collapsed. You include a button to change the state and render the panel based on this state.
When you run the app, there's a noticeable delay ⏰, almost a second — before the panel appears.
Experienced React developers might quickly suggest.
"You’re re-rendering the whole app. Just wrap everything in React.memo and use useCallback to avoid unnecessary renders."
This advice has its place, but it’s wise to pause before jumping in. In this case, memoization isn’t needed and could hurt performance.
First, let’s take a closer look at what exactly is happening and why this delay occurs.
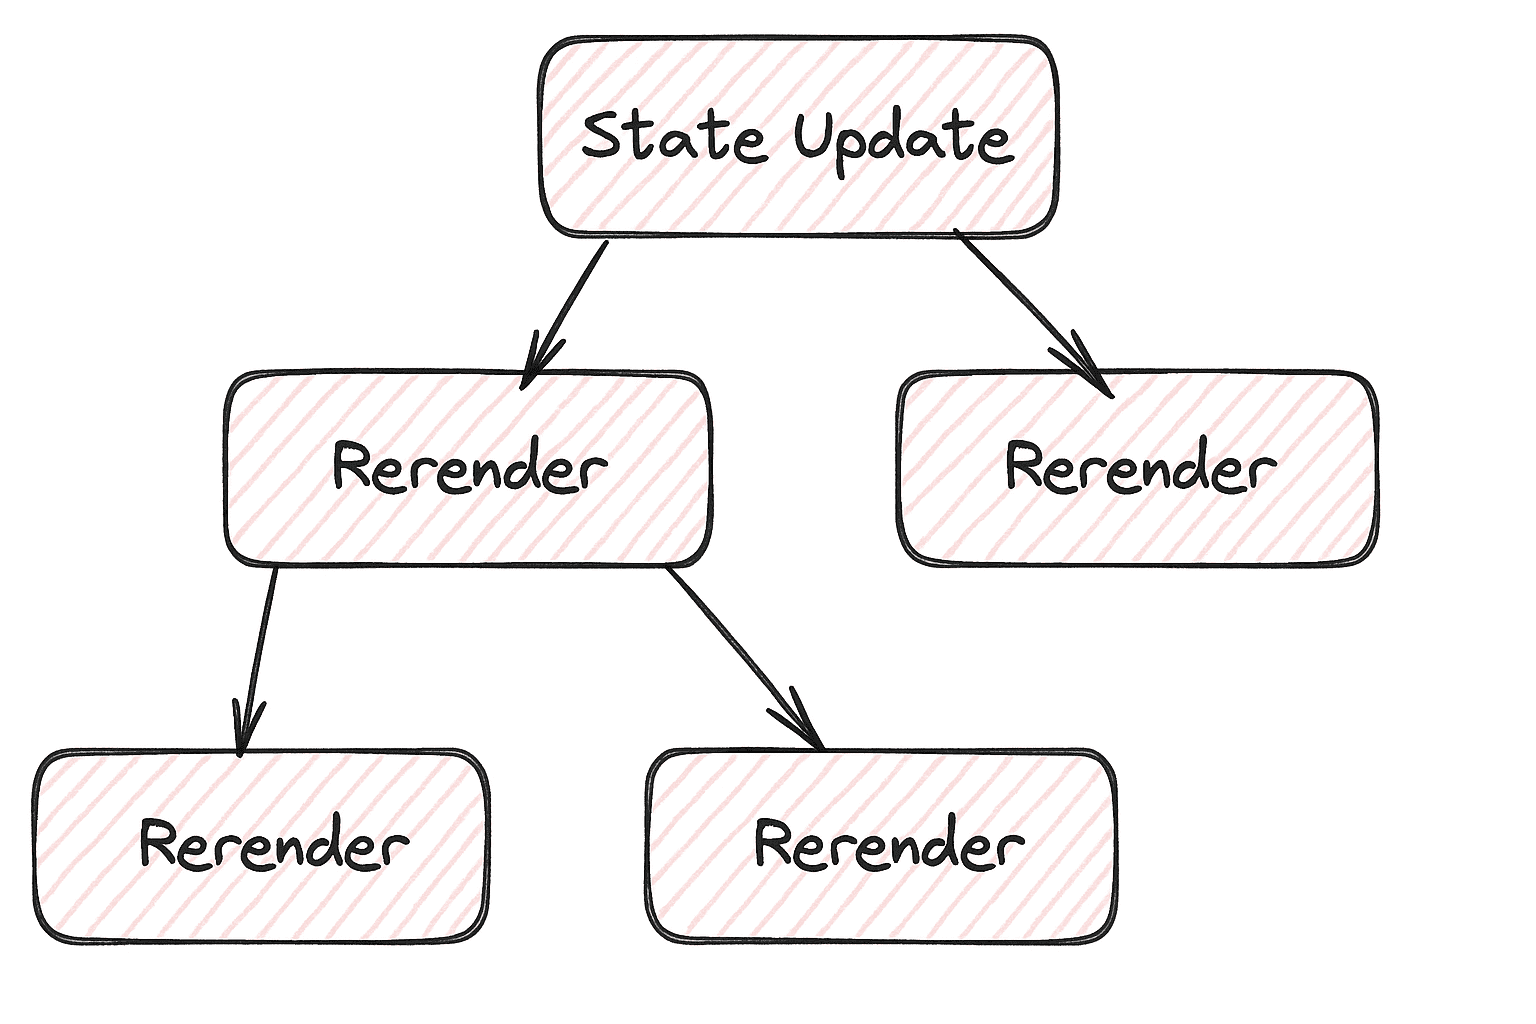
When we click the button, we trigger the setIsExpanded setter function, which updates the isExpanded state from false to
true. As a result, the Dashboard component that holds this state re-renders itself.
After the state updates and the App component re-renders, React must pass the new data to other dependent components.
It automatically re-renders all components that the first component shows. It keeps going down the tree until it reaches
the end.
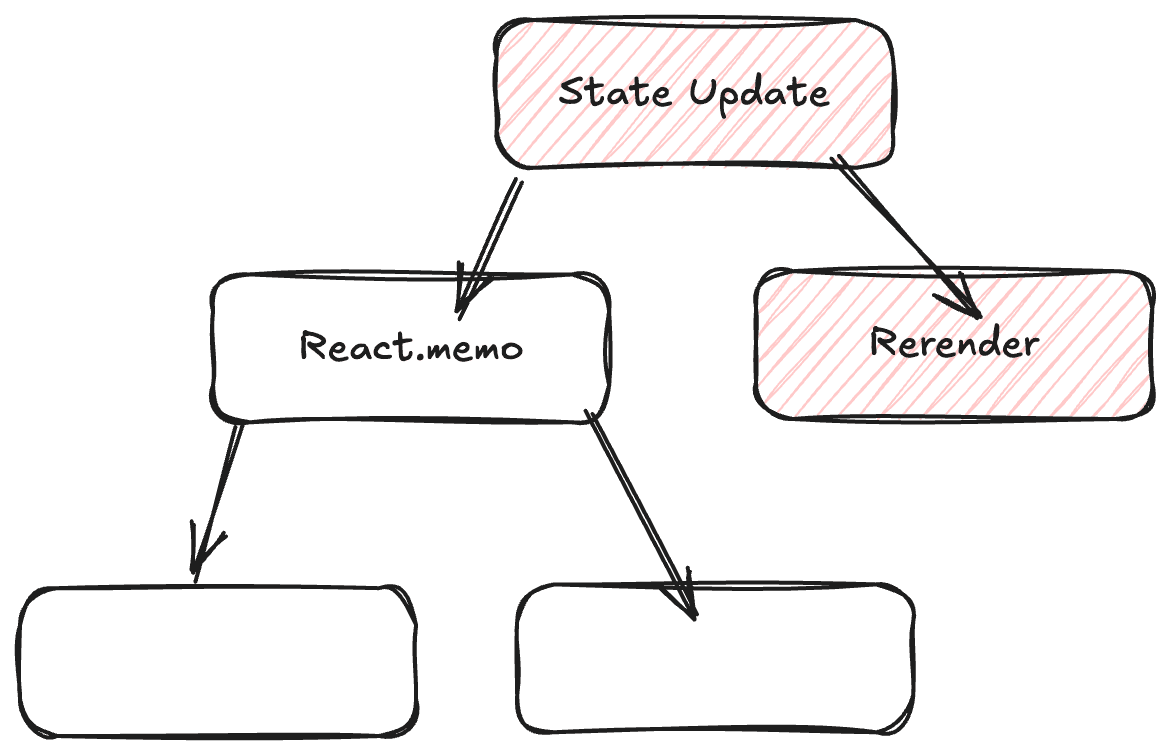
If you visualize a typical React app as a tree structure, you will find that everything beneath the point where the state update was initiated will be re-rendered.
Re-rendering is crucial to understand in React.
The key point to remember is that React never re-renders components "up" the render tree. If a state update occurs in the middle of the component tree, only the components "down" the tree will be re-rendered.
When a component is wrapped in React.memo, React will interrupt its default re-rendering process and first evaluate
whether the props have changed. If there are no changes to the props, re-renders will be halted. However, if even a
single prop is modified, the re-rendering will proceed as usual.
It's important to note that effectively preventing re-renders through memoization is a nuanced topic with various considerations. For a deeper understanding, it is advisable to explore these concepts further in new articles. (Coming soon... or read about Elements, Children as Props, and Re-Renders)
Wrapping components with React.memo can indeed help prevent unnecessary re-renders in certain scenarios. However, it's
important to note that using React.memo comes with its own set of complexities and caveats, which will be discussed in
future articles. A more effective approach is to isolate the components that rely on specific state and encapsulate both
the state and those components into a smaller, dedicated component. This can lead to improved performance and a clearer
component structure.
Moving state down
Let's move our logic into a separate component.
const SettingsToggle = () => {
  const [isExpanded, setIsExpanded] = useState(false);

  return (
    <>
      <IconButton onClick={() => setIsExpanded(true)}>Show settings</IconButton>

      {isExpanded && <SettingsPanel onDismiss={() => setIsExpanded(false)} />}
    </>
  );
};
And then render this new component in the Dashboard:
const Dashboard = () => {
  return (
    <div>
      {/* Our new component */}
      <SettingsToggle />

      <ExpensiveDataGrid />
      <AnalyticsWidget />
      <ActivityFeed />
    </div>
  );
};

Consequently, the settings panel appears immediately. We resolved a significant performance issue using a straightforward composition technique!
Share it: